Registering as an Amazon Seller
Now you’re ready to move forward with getting signed up or “registered” as a seller. So, what happens when you register? What is now expected of you as an Amazon Seller? What steps should you take immediately to prepare your store for customers?
We’ll cover that shortly. But first, let’s start by defining a few important terms for this chapter:
- Referral Fee: Every time you sell an item on Amazon, you have to pay Amazon a referral fee. The fee typically ranges between 8% and 20% of the total price (product price + shipping cost) you charged the customer. Included in that fee, Amazon will handle credit card fees for your transactions, as well as investing some of it on search engines for pay-per-click advertising, helping to make your products more visible online.
- Gated Category: Not all categories on Amazon are open to every seller. Some categories require permission from Amazon. Before you register on Amazon, it is well worth your time to read up on Amazon to find out which categories are gated, and figure out if your items would fall into those categories. If your items are in gated categories, you will want to read the instructions on what it takes to apply to become ungated for those categories. Realistically, if you’re looking to sell items primarily in gated categories on Amazon, you will need to start the ungating request process immediately after registration. Be aware that asking to be ungated hardly guarantees that you will be granted permission, so you may find that Amazon isn’t available to you as a sales channel.
- Display Name: While you will likely end up registering your business with your state government, the legal name you choose for your business does not need to be the name you use on Amazon to present your offers. Many sellers on Amazon use a different name on Amazon than the legal name they’ve used for their state paperwork. Instead they use a faux display name to help link their products to a company name that sounds more customer-friendly or suitable for selling on Amazon.
- Tax Nexus: As Benjamin Franklin said, “In this world nothing can be said to be certain, except death and taxes.” And selling on Amazon is no different—there are tax implications for any selling you do here. We aren’t tax accountants, and we encourage you to talk with your own—it’s important to understand that you will need to provide Amazon with your reseller tax ID number as part of your registration process. And if you choose to collect state tax for relevant states in which you have a presence (or “tax nexus”), you will want to have your tax ID numbers available for Amazon for each of these relevant states. Remember, while Amazon can help you collect tax on customer orders, you alone are responsible for paying your taxes.
The Signup Process
More than 98% of all sellers that join Amazon go through a self-service registration process—that is, they don’t deal with an Amazon sales person to get registered. For those sellers that register outside of the self-service registration process, it’s because the Amazon sales team has reached out to them to invite them to join Amazon—something that usually happens only for large or strategic companies whose selection Amazon is targeting.
To sign up, you can use a few different self-service options:
- Go to http://services.amazon.com, then click on either the “Selling on Amazon” link or “Sell on Amazon” box
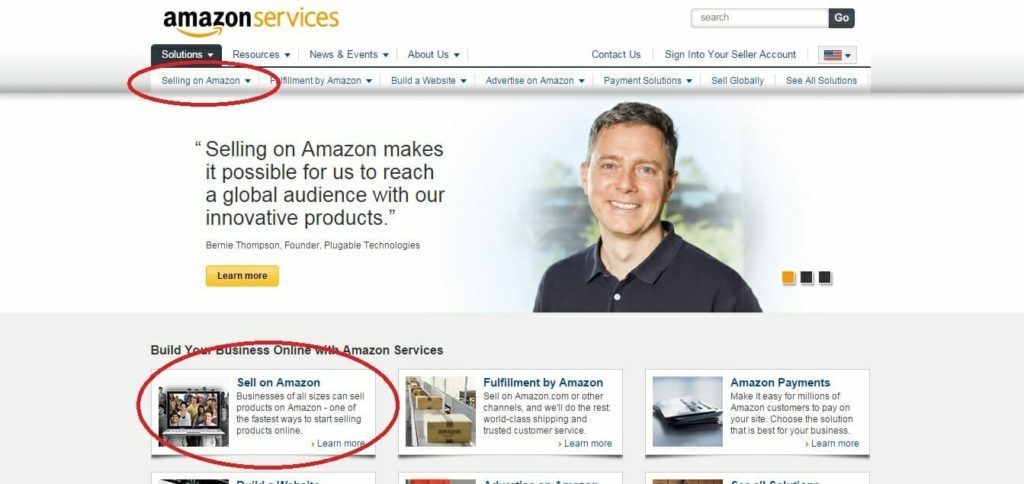
2. Go to http://sellercentral.amazon.com, then click in the bottom left on “Selling on Amazon”
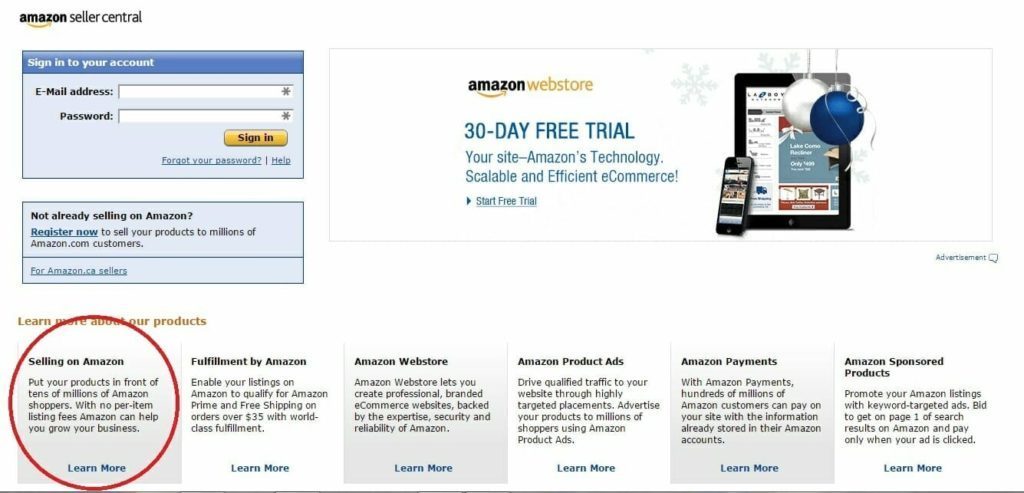
3. Click on the “Sell” button at the top of the Amazon.com home page:

It doesn’t really matter through which of these pages you start your registration process.
Seller Type
Next, you will need to decide what type of seller you want to be: a “Professional” seller or an “Individual” seller. Here are the differences between these two seller types.
- Professional Seller
- Professional sellers are typically sellers that plan to list more than few handfuls of products, and expect to be regular sellers into the future
- Individual Seller
- Individual sellers are typically sellers that have a small supply of product that they want to sell and then be done with selling. Maybe you’re a college student who wants to sell some used textbooks at the end of term, or you’re cleaning out cupboards and found some old gifts you don’t want so you decide to sell them on Amazon, rather than selling them locally.
Professional vs Individual Accounts
There are five subtle but important tradeoffs between selecting a Professional Seller and an Individual Seller account:
- Monthly fee.
Professional Sellers pay a $39.99 monthly fee for their accounts to be active, even if they don’t list or sell anything. Individual sellers don’t have this monthly fee to contend with. - Listing fees.
Individual and Professional Sellers pay the same referral fees on product sales, but Individual sellers are charged a $0.99/per item fee for each unit sold. Professional sellers don’t pay this fee. An Individual Seller pays no monthly fee for your seller account, you will pay a per-item $0.99 fee on each sale in additional to the usual Amazon referral fees. If you plan to sell more than 40 units a month, you may want to consider getting a Professional Seller account just to save on the per-item fee (plus there are many other advantages being a Professional Seller). Also keep in mind that you’re allowed to flip back and forth between being an Individual Seller and Professional Seller—for instance, if you decide to stop selling as a Professional Seller for some period of time, and don’t want to be charged a monthly fee during that no-sales period. - Shipping rates.
Only professional sellers can set their own shipping rates they charge Amazon customers. If you plan to make shipping a profit center for you, it can be very important to be able to set your own shipping rates that you charge Amazon customers. But remember, Amazon charges you referral fees on the combined product price and shipping cost, so you’ll want to factor that referral fee into your shipping rates. - Listing new products.
Apart from a few minor exceptions, only Professional Sellers can create new listings for products never offered before on Amazon. Individual sellers can only add their offers to listings already created on Amazon. - Gated categories.
Only Professional Sellers can apply to be allowed to list and sell in roughly 10 product categories that are currently gated on Amazon. These categories include Clothing, Shoes, Jewelry/Watches, Beauty, Collectibles, Automotive, and Video.
Have These Ready Before You Start
The registration process is fairly straightforward and can be completed in under an hour, but there are few pieces of information you’ll want to have in advance in order to streamline the process. The rules for signing up on Amazon differ from country to country, but here we’ll focus on what it will take to get registered on Amazon.com, the US marketplace. You CAN stop the registration process partway through and come back to it later – but it’s MUCH easier to pull together the following 5 pieces of information BEFORE you start the registration process:
- Your legal business name, address, and contact information
- An email address that can be used for this company account
- An internationally chargeable credit card with a valid billing address
- A phone number where you can be reached during the registration process
- Your tax identity information
Registered and Launched Accounts
Once you’ve provided all of this information, you’re a “registered” seller on Amazon. Almost immediately, Amazon will encourage you to get started with listing your products, for once you list even a single product, you become a “Launched” seller, rather than just a “Registered, Not Launched” Seller. If you remain a “Registered, Not Launched” seller, Amazon will email you several times encouraging you to list products. Amazon is likely to make much more money from you on referral fees once you start selling products.
Pre-Listing Admin Issues
Before you get to the listing process (which we will discuss in the next chapter on how to launch your account), there are some important administrative issues that are often overlooked by new sellers, including:
Selling in gated categories (or what Amazon calls “Categories and Products Requiring Approval”)
As we mentioned earlier, some ten plus categories on Amazon are gated, meaning you need to get special permission to list/sell items in those categories. If you have products in those categories to sell, start the un-gating request process immediately after getting registered, so you can take advantage of the “first 30-days free” program that is typically available on all new Professional Seller accounts. If your request to sell in a gated category is turned down, you should still have enough time to decide whether to cancel your Professional Seller account before you are charged a monthly fee after the first 30 days has passed. If the majority of the products you plan to sell are in gated categories you don’t get permission to access, it may not make a lot of sense to continue efforts to be an Amazon seller.
- Sign into Seller Central, and search for “Categories and Products requiring approval.” There you will see links to apply for permission to list your products in each relevant gated category. Depending on the category for which you are seeking approval, Amazon will ask you various questions or for various documents, images or URLs to evaluate whether you should be ungated to sell in those categories. It is our experience that this process is one of meeting the bar, rather than trying to surpass the bar. If Amazon asks you to show it a website on which you have at least 5 gated products available for sale, do just that, and make sure every single image you show Amazon meets Amazon’s image requirements. You can learn more about image requirements by searching again in Seller Central for that topic). Answer all the questions honestly, and provide the requested documentation. If you can’t provide the necessary documentation, figure out how to get it. Don’t try to get approved without providing all of the required information and answering all the required questions. We’ve seen sellers apply over and over to get approval, each time not properly completing the approval application process.
- While you wait for your ungating request to be processed, you will not be able to list any products in those relevant categories, but can list products in any category that doesn’t require such ungating.
Setting Up Your Seller Profile
Once you are registered, you can access your home page at http://sellercentral.amazon.com, Amazon’s portal for sellers. As a new seller, there are a number of settings to lock down—most of which we recommend you do right away as a newly registered seller.

In the top right corner of the Seller Central home page, click on “Settings,” which will generate a drop-down list of options to discuss.
- Account Info
In this section, please verify that all of your contact information is correct. You can edit information by clicking on the right-hand side “Edit” button. If you plan to use an alternate Display Name rather than your legal name, you can enter that here. Accurate “Return Information” is critical, especially if you plan to use any Fulfillment by Amazon services. Customers may return products to Amazon’s FBA facilities, and then if you designate Amazon to do so, it can ship those customer-returned items back to you; so, make sure you have an appropriate place to which you can legitimately receive returned product. We have seen absurd situations where smaller sellers have generated decent volumes that generated enough returns that when returns were sent to their home address, they found that they didn’t have room to store all of the returned products at once.If you plan to change the credit card in “Charge Method” section, please be aware that your account may be put on hold for 24 hours while the credit card number is updated in Amazon’s systems. We recommend that if you change your credit card settings, you should immediately call Seller Support to notify them of the change, which can help shorten the time that your account is frozen while the new number is verified. - Notification Preferences
Amazon is set up to send a lot of emails to sellers. But those emails are for many different purposes. So, if you plan to have different people on your team address distinct issues, or you want to separate ORDER notification emails from all other emails (such as emails regarding reports, product recommendations, general news, or changes to your listings), this is the place to set your email preferences. It is worth carefully thinking through how you want to be notified of what’s happening in your Seller account.Because Amazon sends you a separate email for every single order you receive, it’s easy for a fast-growing Amazon seller to miss out on other interesting and relevant messages that got lost in the midst of all of these transactional emails. The Listings Notifications and Report Notifications are critical to read, as you will be notified when one of your listings have been changed by another seller or merged by Amazon.Having your listings changed can be a very frustrating aspect of selling on listings shared with competitors, as a competitor may make an inaccurate change to the listing that results in your customers seeing the wrong information on a product that you are selling (if that happens, make sure to contact Seller Support asking for help getting the listing modified again). - Login Settings
In case you need to change your username or password to get into your Seller Central account - Return Settings
Outline how you want your product returns to be handled. While FBA returns are handled by Amazon, you’ll need to specify how returns on orders you fulfill yourself should be handled. This will help ensure that the communication between you, Amazon and the customer returning the product is to your liking. - Gift Options
If you plan to offer gift messaging to customers who place orders you fulfill yourself, you will want to fill this out. Customers like this functionality, but make sure you have the technical ability to handle this feature. - Shipping Settings
As a Professional Seller, you have the right to set your own shipping rates for orders you fulfill yourself. While you can set high shipping rates and long shipping times, keep in mind that these can reduce the likelihood that Amazon customers will select your offer over a competitor’s offer. - Tax Settings
While some of this will be useful background to have about your obligations to collect and pay taxes, our main call-out here is the “View/Edit your Tax Collection Obligations and Shipping & Handling and Gift Wrap Tax Settings” link. At a minimum, you will need to pay state tax on any orders being shipped into the states where you have a physical business presence (“tax nexus”). Be sure to talk to your tax professional for clarification on this, though tax nexus usually includes states where your business has its own warehouses, offices, or call centers.If you want Amazon to collect the state tax on orders shipped to those specific states where you have “tax nexus,” you will need to provide your state tax ID information here. If you don’t have your state tax ID set up, you will need to contact the appropriate state tax organizations immediately to get your state tax IDs.Please remember, while Amazon can collect your state tax for you, it remains your responsibility to pay your state taxes and to find out the procedure for each state in which you will be paying state tax.One common mistake by new Amazon sellers is to unknowingly not collect state tax on the Amazon transaction, and end up having to pay the tax out of pocket.You may decide you are comfortable absorbing this tax cost yourself, but most customers understand the need to collect state tax on their transactions and will pay it, so why not collect it explicitly! Furthermore, sales tax costs are NOT included in the calculation of the buy box algorithm, so you aren’t penalized as a seller if your customer happens to be in a state where you have to pay state tax. - User Permissions
In this section, you can allow people with other email addresses to be able to access certain Seller Central sections or reports on your account. This is particularly useful if you have different people on your team supporting your Amazon account but you don’t want them to see all of your information. You can provide people access to specific data on a need-to-know basis while restricting other information that they don’t see. Keep in mind that if you have employees with access to Seller Central, and you let these employees go, it’s up to you to remove their access to Seller Central immediately. No one wants a disgruntled ex-employee to mess up your whole account. - Your Info & Policies
Take a few moments to describe your company in the “About Seller” area. It helps to provide a high-level overview of what you do and what types of products you specialize in for customers who aren’t familiar with your company. If you check other seller storefronts on Amazon, you can see how sellers choose to describe themselves. If you have a company logo, upload it here. The logo will appear next to your company name on product detail pages. If your products have unusual characteristics, you may want to address those in the “Frequently Asked Questions” section. If you’re not sure what to include here, don’t worry. Typically, as you get started selling, customers will send you one-off questions to clarify product specifications or warranty terms. You may choose to leave this section blank until you start to see what kinds of questions customers are asking most frequently. - Fulfillment by Amazon (FBA)
If you are going to use FBA, you will want to fill in this information to make sure returns are sent back to the right place, and product return/disposal procedures with Amazon are set up the way you’d like.
Feedback
As you get set up for customers and orders, keep in mind that Amazon keeps track of your performance metrics, including Customer Feedback. You may piece together a scrappy process for asking Amazon customers to leave you feedback, but it’s wise to streamline and automate the collection of feedback so you can focus on other parts of your business.but we encourage you to consider using one of the inexpensive external tools like:
With these tools you can get the feedback engine running efficiently. You want to have a decent average feedback score, but the number of pieces of feedback will also become an asset for your growing business.
Chapter 2 Wrap-Up: Processes To Implement
There are a lot of issues to think about when you first register as an Amazon seller. If you don’t address them all when you set up your account, you could find yourself spinning your wheels or wasting time and money to fix things later on. We encourage you to make sure you take care of:
- Ungating
Get started on the ungating process for all of your relevant categories as soon as you finish registering – if you find you can’t get ungated, it may not be worth being a seller on Amazon. - State tax ID
Submit your relevant state tax ID information to Amazon so Amazon can collect state taxes for you and you don’t find yourself paying them out of pocket. - Shipping Rates
Review your shipping rates on Amazon, and update them if the default ones don’t make financial sense for you.
As we mentioned in the pre-registration chapter’s checklist of processes, get yourself organized with an initial subset of your catalog that you want to list on Amazon. This subset of products should be ones that:
- Don’t require you to get permission to sell in their specific categories
- Come with good images and written content to use for creating listings
We also encourage you to have the UPCs or EANs (European Article Numbers) ready for your items. This information will allow you to check quickly to see if you need to create all new listings or whether you can piggyback off of existing listings that are already in Amazon’s catalog.
We discuss the listings process more in chapter 8, but the quick takeaway here is that you want to keep the listings process simple for yourself, and having the UPCs or EANs of your products ready to go will greatly accelerate your ability to start putting your products up for sale on Amazon.
Chapters
We’re a team of expert Amazon consultants who specialize in scaling mid-to-large product brands.
PO Box 1010 Riverton, UT 84065
Become great at selling on Amazon
Join our FREE newsletter and receive expert advice for executives managing the Amazon channel.